Some time ago I started making knifes from various objects like truck leaf springs, coil springs, files, horse shoe’s, etc.
With every knife there is progress, and I decided to make my “ultimate super duper awesome perfect sharp as a razor” knife for my outdoor trips.
Not so long ago I purchased a circular saw blade, and this seemed the perfect material for it.
So here are the pictures I took during the creation of my new knife 🙂
Here is a rough drawing of the shape I wanted.

With my good old ‘el cheapo’ angle grinder I managed to cut out the rough shape of the knife.

Using the grinder again to clean up the edges and take off the excess material.

And here is the final outlined shape of the knife.

Time to start with lots of filing…

Cleaning up the knife with a sander

Looks nice this way, but still a lot of work to go.

Although the filing was not much of a problem, the drilling was a problem, I could not get the drill to go through the 5 mm thick metal.

So I build a small forge from fire resistant bricks and used my mini gas torch to make the handle red hot.

After that I put it in wood ashes, to cool it down very slowly, so the metal stays soft.

After it was cooled, the drilling was without any issue 🙂

Due to the different temperatures on the blade, I decided to quench it, first making it completely red hot comp, and then quench it in vegetables oil.

No action pics of this sadly enough..

After that some small cleaning up on the blade.

Time to put it in the oven, first 1.5 hour cycle was on 175 celcsius, and nothing much happend.
So I did a second 1.5 hour cycle and put it on 200 celcius, now the knife became a nice straw color.

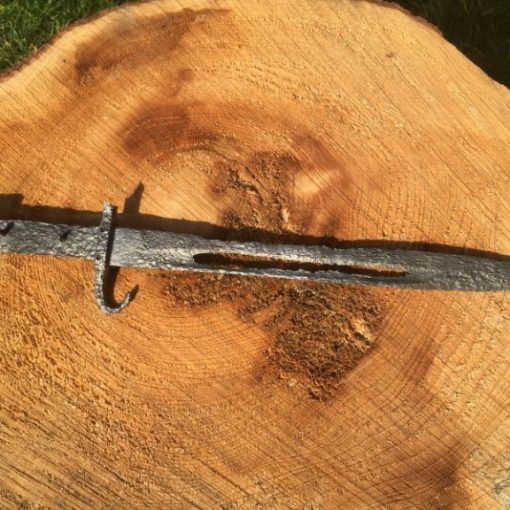
While the blade was hardening in the oven, I went outside to pick a piece of wood, and I settled with a nice piece of Oak.

The blade was done in the oven, so time to clean it up again.

Making the wooden oak scales to size.

Drilling the holes in the wood, using the blade as a”guide”.

And then with epoxy glued it all together. For the pins I used stainless steel.

After 14 hours of drying, I started with finalizing the handle, first a rough file..

Then the sander with different sanding parts.

Then I let it soak for 48 hours in olive oil, which gives it a very nice “full” look to it.

The it was time to make the leather sheath. With the knife all taped up, nothing could go wrong..

All 3 parts I made soaking wet in hot water, and then shaped it and hold it in place till it cooled down.

After that, time to drill the small holes for the stitching.

And here is the result. The knife is perfectly laying in my hand. The sheath is not the prettiest, but it works as I wanted it to work though :-).


