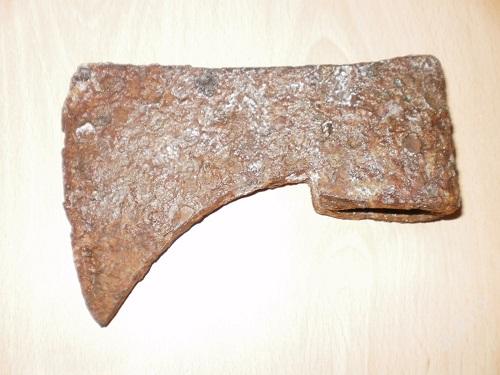
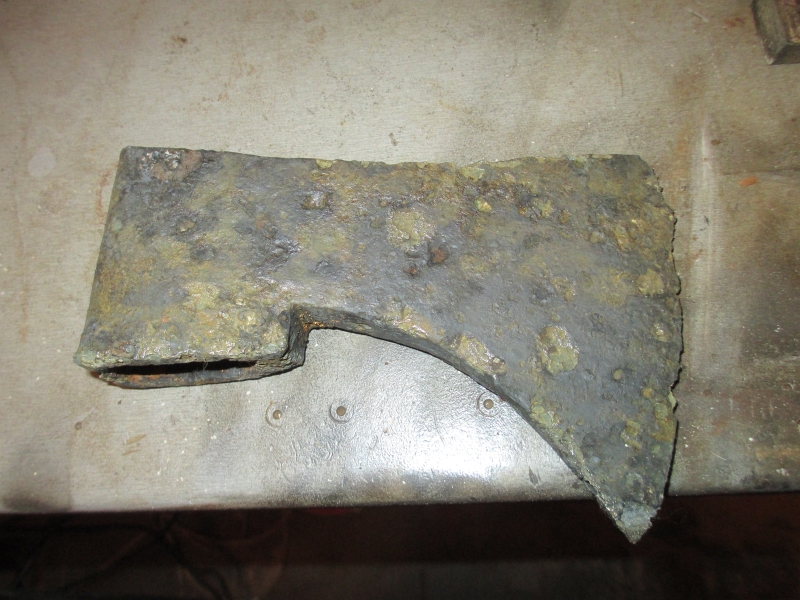
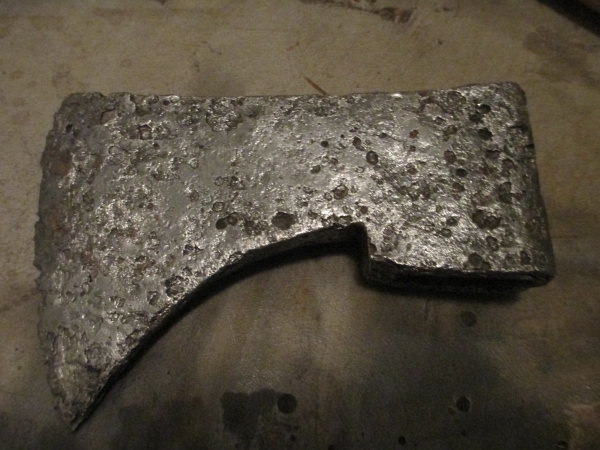
Recently I bought another medieval axe head, which had a lot of rust on it.
I have restored as well several other medieval axe heads using the vinegar method, but this is very time consuming since the huge layers of rust are hard to penetrate, and it takes sometimes up to weeks to get it fully cleaned with vinegar and a metal wire brush.
Therefore i did some research on using electrolysis to remove rust. It seemed very simple, so I gave it a chance.
Here is the axe head as I bought it.
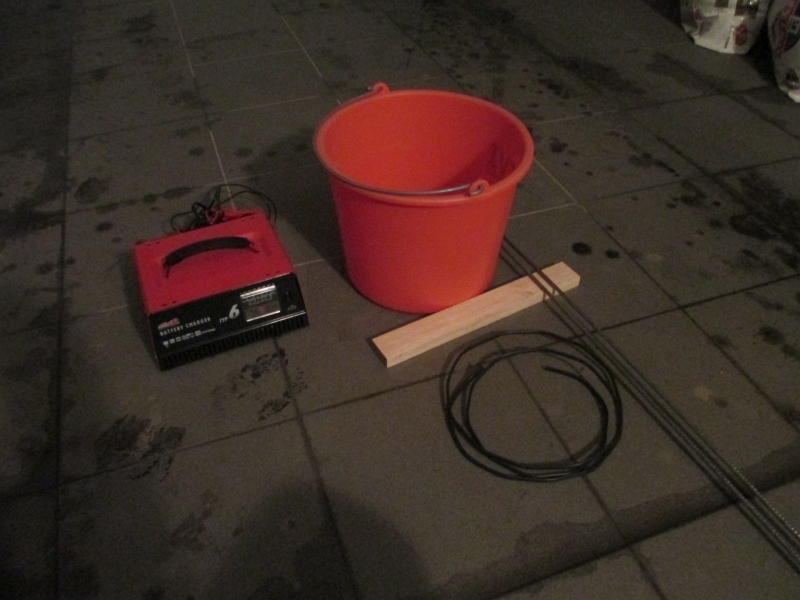
All items I had already laying around, so no money spend on this project.
– old bucket
– piece of wood long enough to lay on top of the bucket
– electrical wires (1.5 meter)
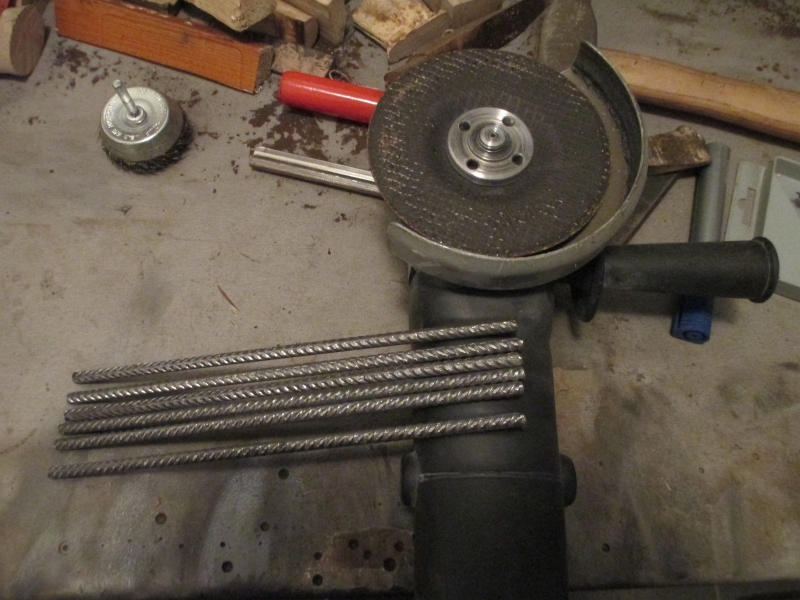
– rebar (mine was 6mm)
– battery charger
– 50 grams baking soda
– 8 liters of water
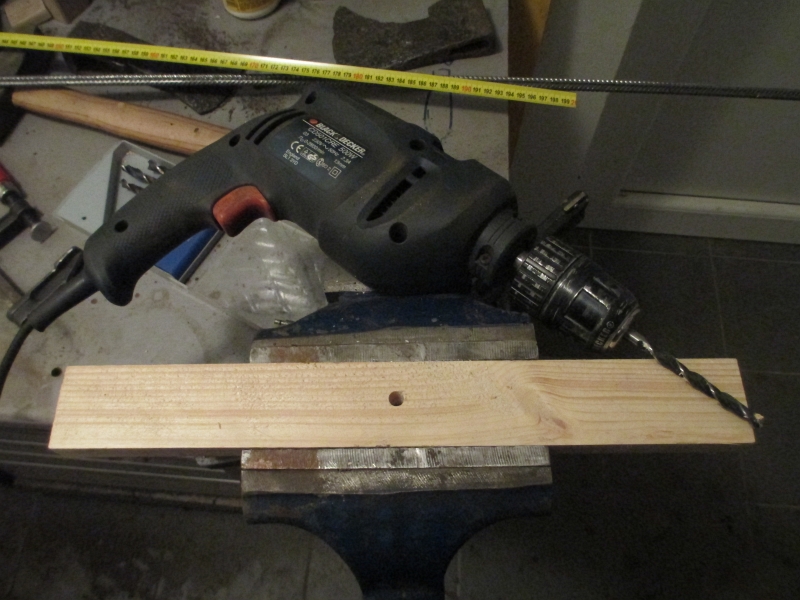
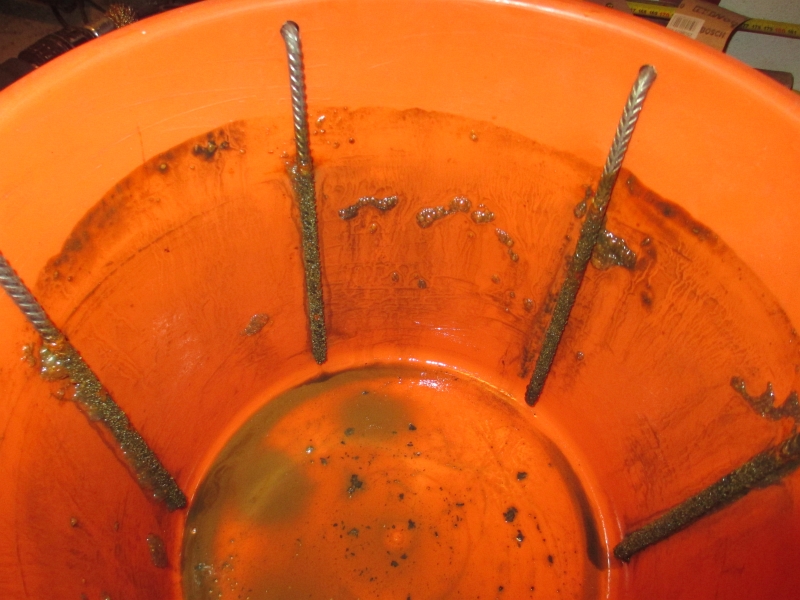
First I drilled a hole through the middle of the wood, here will be piece of electrical wire going through with the axe head hanging from it into the water.
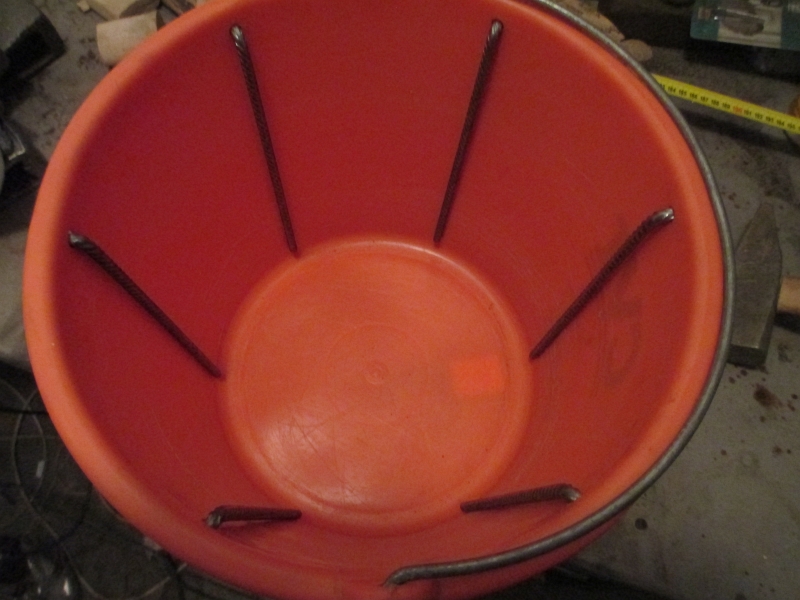
Then I measured 6 even spaces around the bucket.
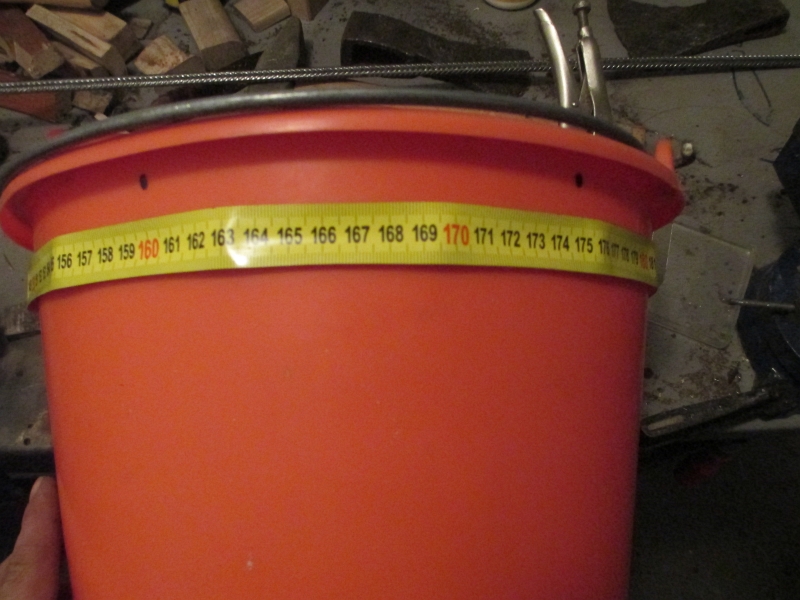
Drilled 7mm holes so the 6mm rebar would fit without issue’s through the holes.
6 pieces of rebar where cut to length.
Bended those pieces 3 cm from the top.
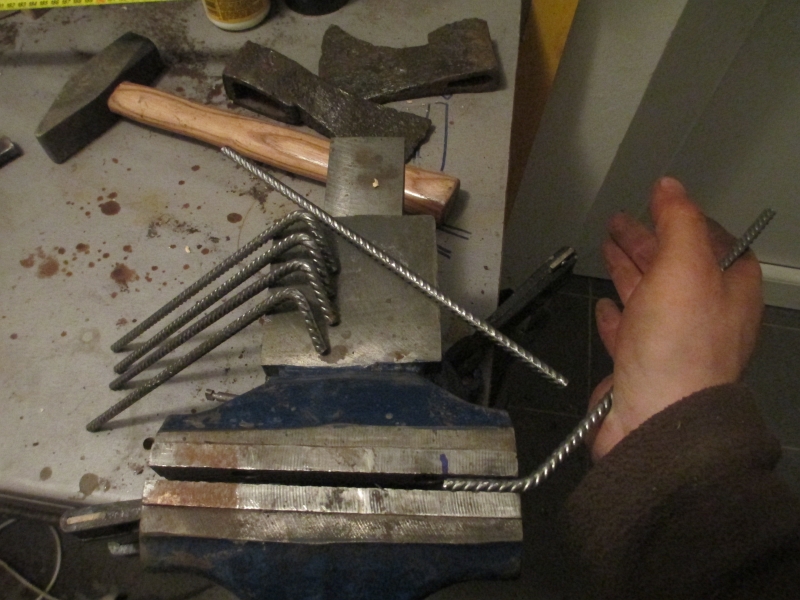
And due to the shape of the vice, I had to use a hammer to bend them a bit further.

Here they are in place in the bucket.
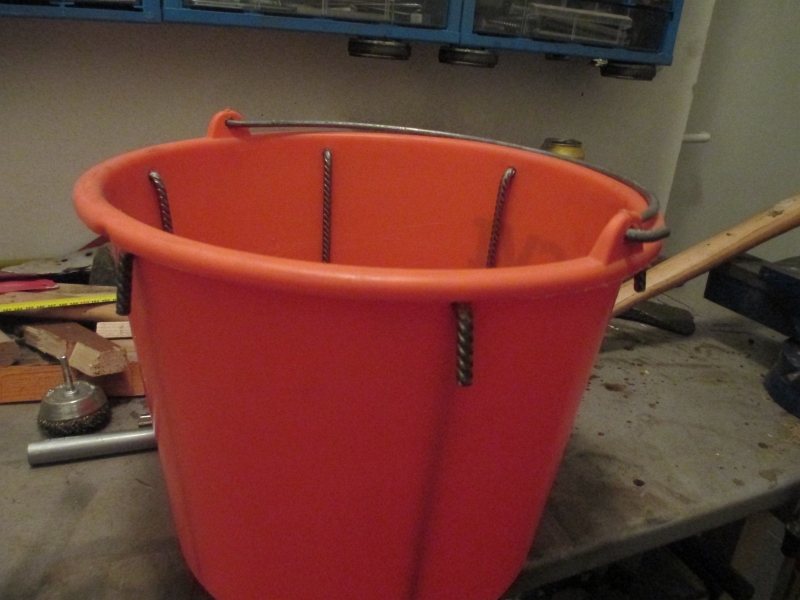
And top view.
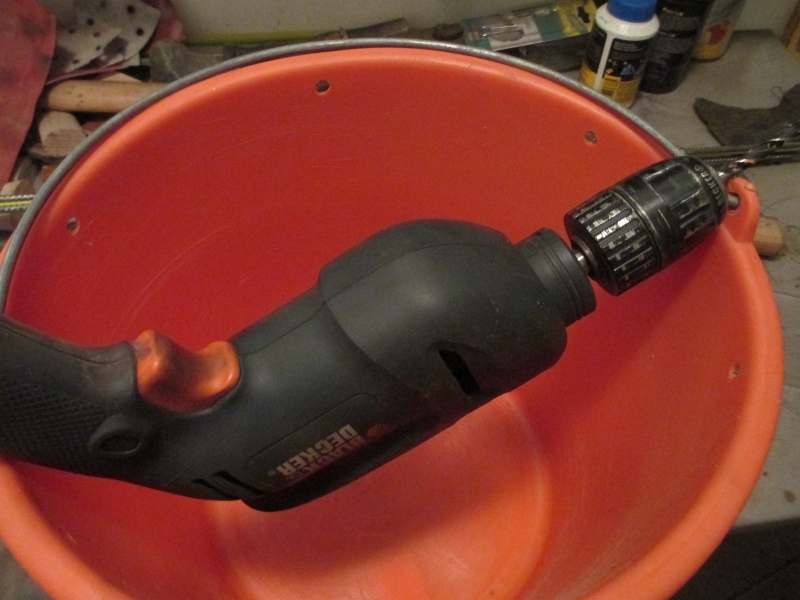
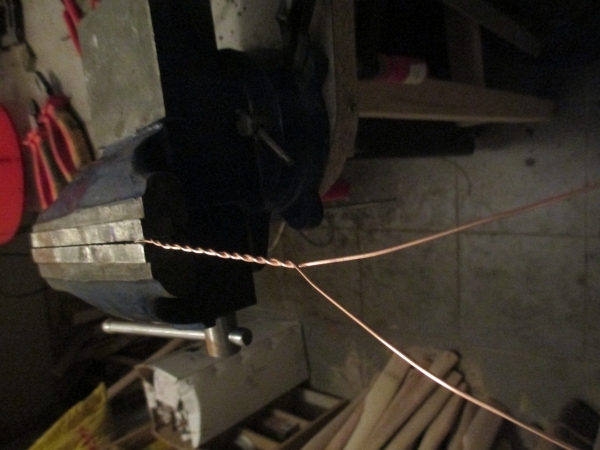
time to strip the electrical wire.
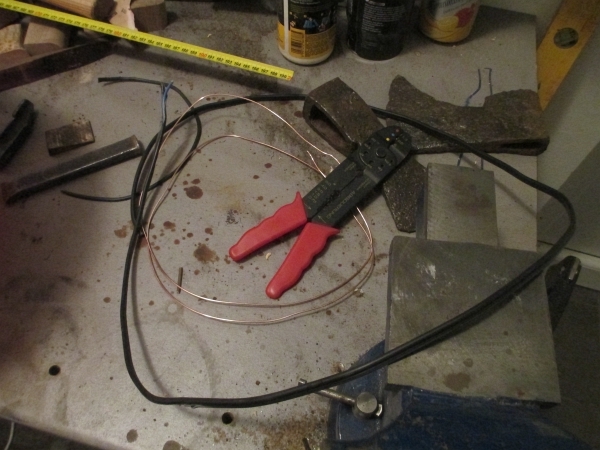
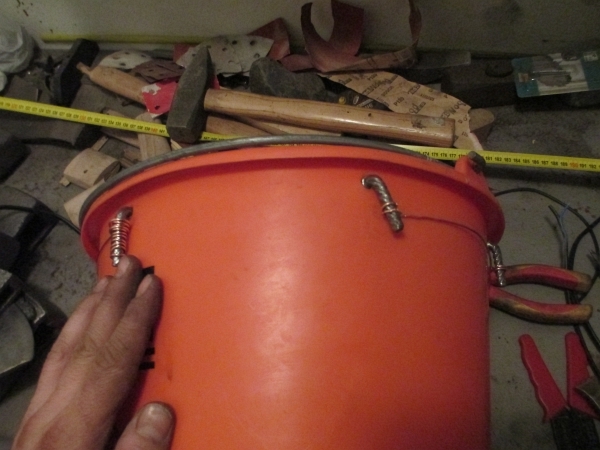
And connect all metal pieces, except the last and first one.
From another piece of wire, i doubled it up, to be used for the axe head to hang from.
After inserting this piece of wire through the wood, I double folded the top for a good contact point for the negative / black connector of the battery charger. To hold it in place, I made a knot at the shown height from the wire coating that I stripped off earlier.
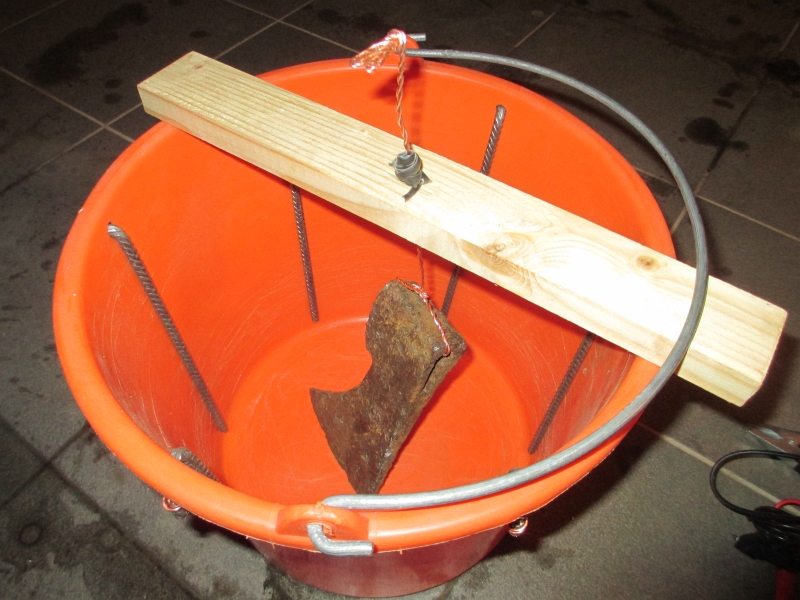
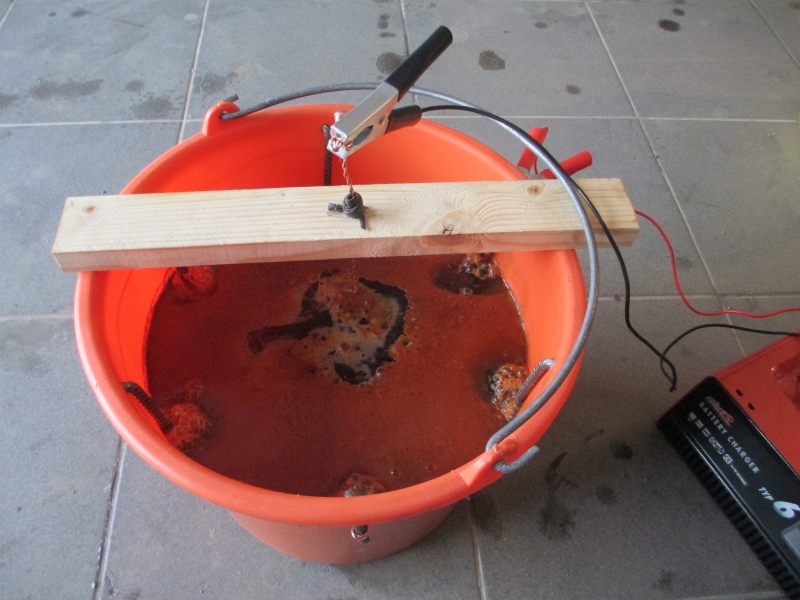
Added 8 liters of water and 50 grams of baking soda, and connected it all together. The red / positive connector is connected at the first metal piece (that is connected by the wire to the other pieces).
After turning it one, it started making bubbles directly.

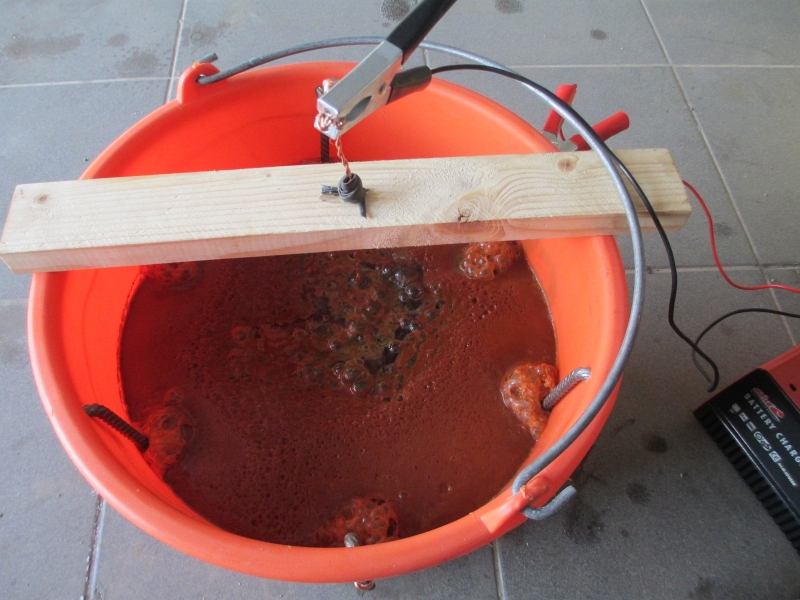
This is after 15 minutes.

After 12 hours.
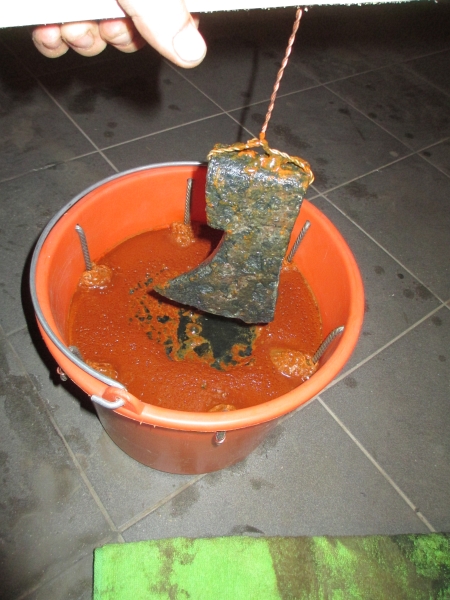
After 18 hours, time to take it out.
Here is the axe head, doesn’t look very clean..
Close up.

Then I removed all the loose layers by hand, and after that washed it in the sink.
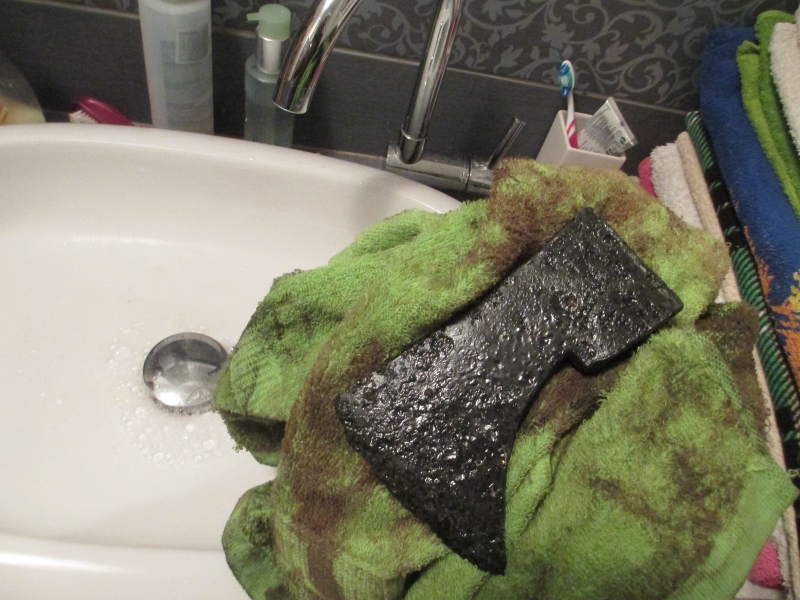
Dried with an old towel.
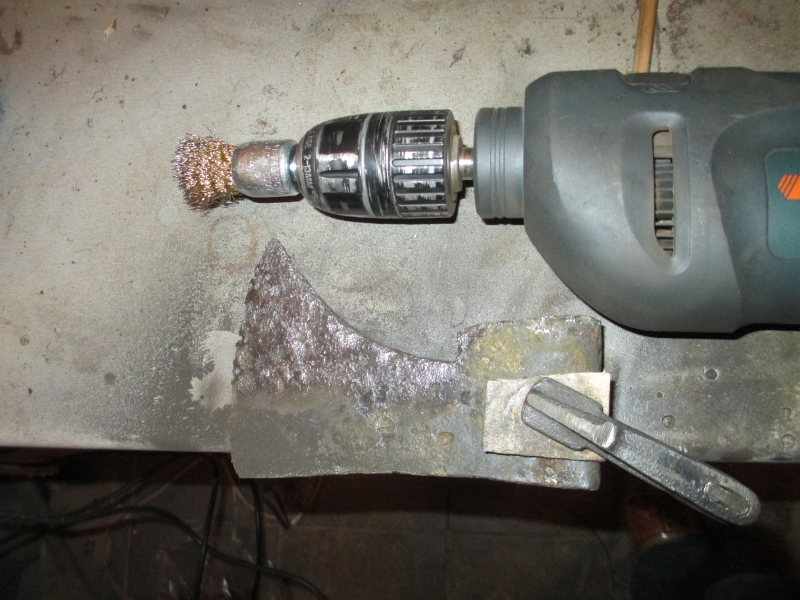
Partially cleaned with the wire brush.
All cleaned up 🙂
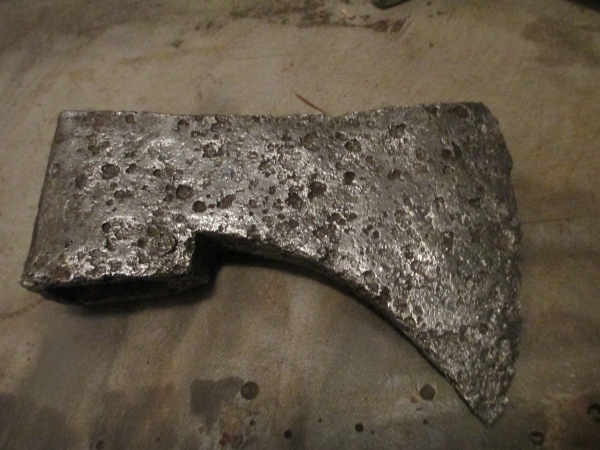
And second side 🙂
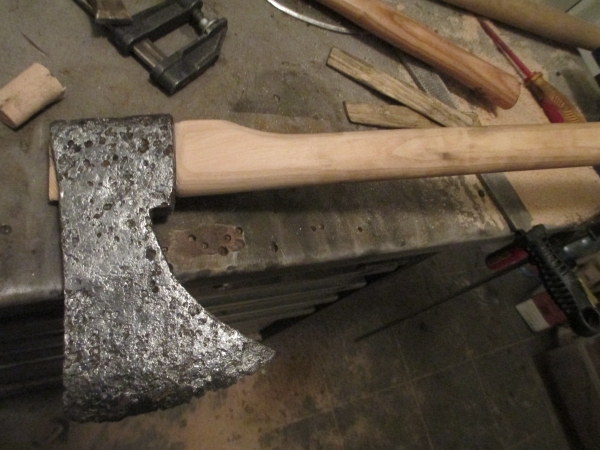
Making a fitting handle for this old axe head.
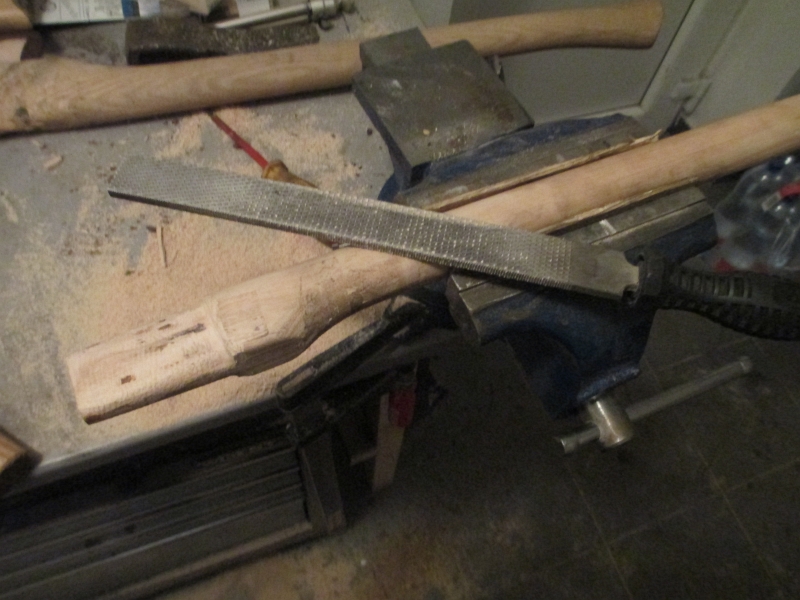
And a perfect fit, now just cleaning up the handle and then oiling it. But since this is about the electrolysis, I will not show you the finishing part.
And here is how the metal pieces look like.
All I need to do is clean them up a bit with the angle grinder, so the rust is off, and then they can be used again.
Conclusion, I liked it a lot.
For a very rusty object, this is the way to go, it took only about 20 hours or so, instead of weeks like previously.
But it for me it would be worthy only for very rusty objects.
The other axe heads that I am working on are quite easy to clean after an average of 3 days in vinegar, and then easily cleaned by the wire brush, and I can do multiple at the same time.
