This winter I want to do a lot of metal works, so my simple forge and anvil needed some work I told myself.
Also some protective clothing would be good, since I have holes in all my working clothes.
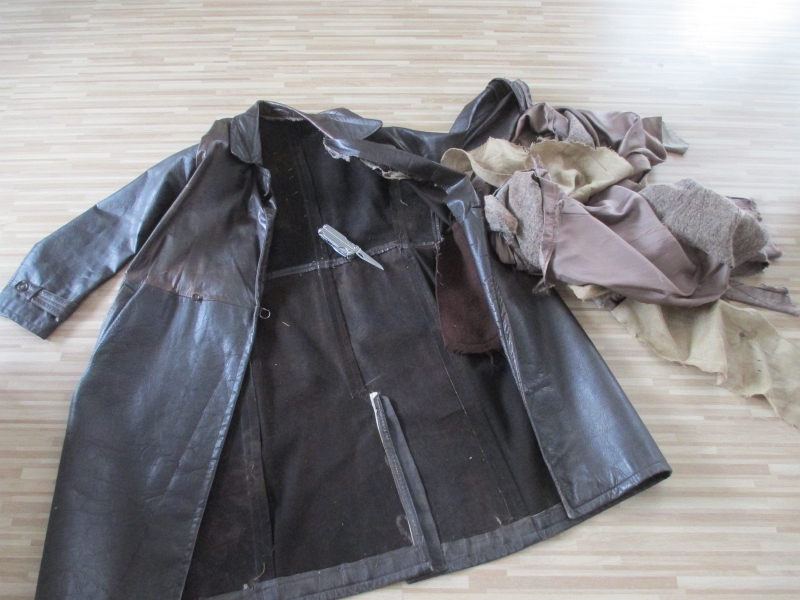
On the local ebay here in Czech Republic I bought a old leather jacket and gloves, for about 20 eur.
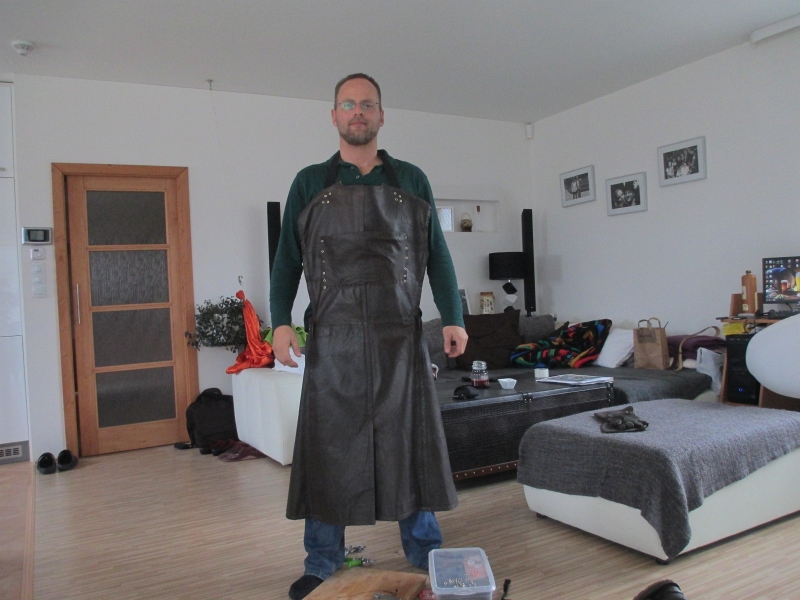
Here showing it, the hat is not part of the exercise though, I just thought it fitted quite nicely 🙂

Here it is originally.

Took out all the lining it had, it was quite a bit.
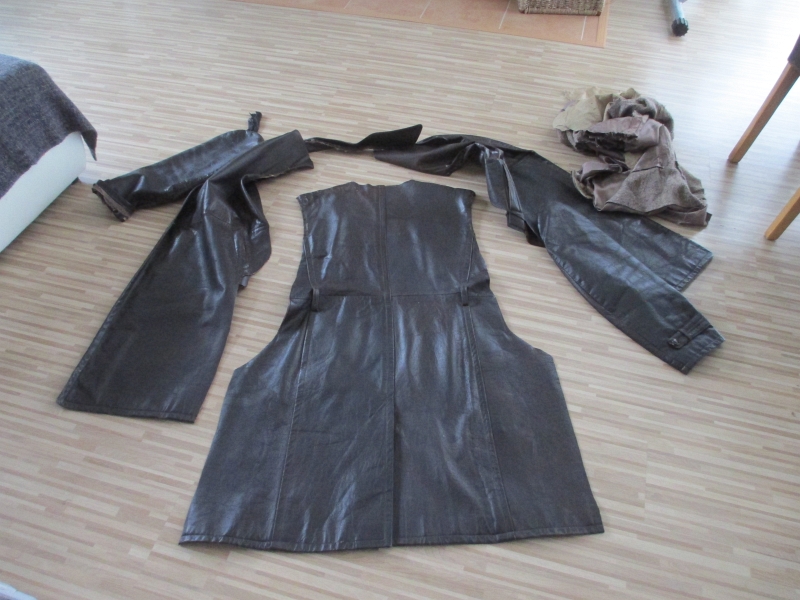
The back part I used for the apron.
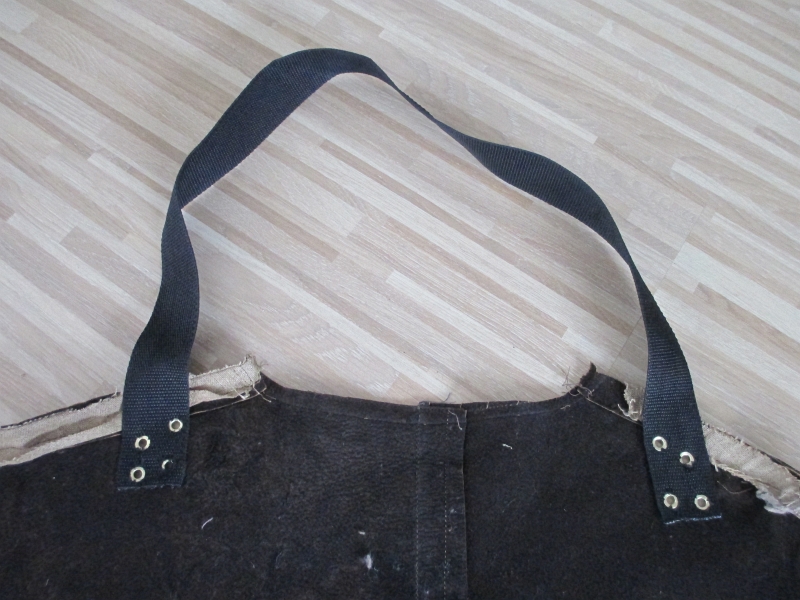
Added a neck loop from webbing.
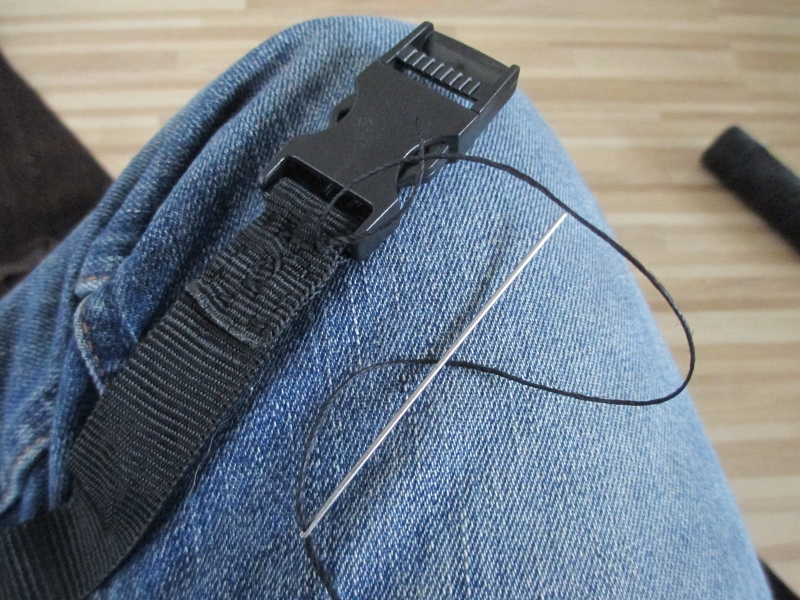
During a hike I found some time ago an old thrown away backpack, of which I cut of all the usable parts. And now they have found a new purpose in life.

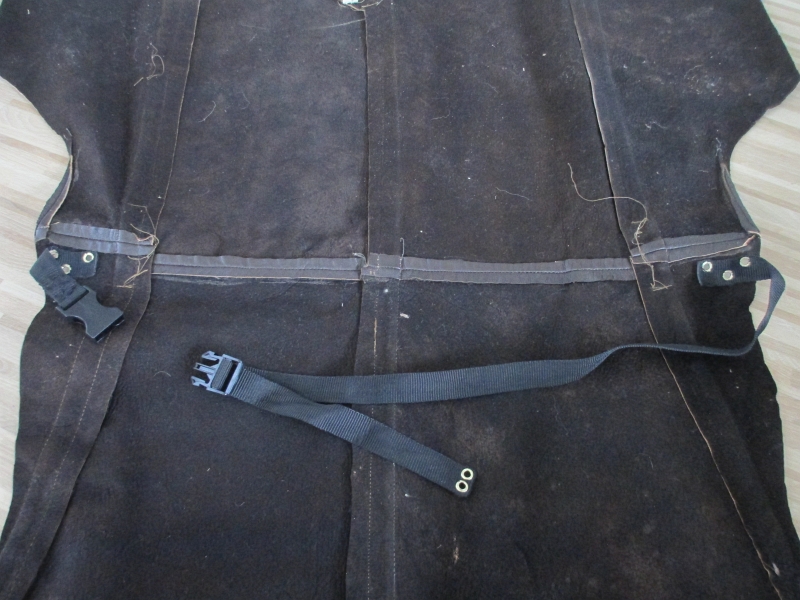
Sewing it together.
Attaching it to the apron.
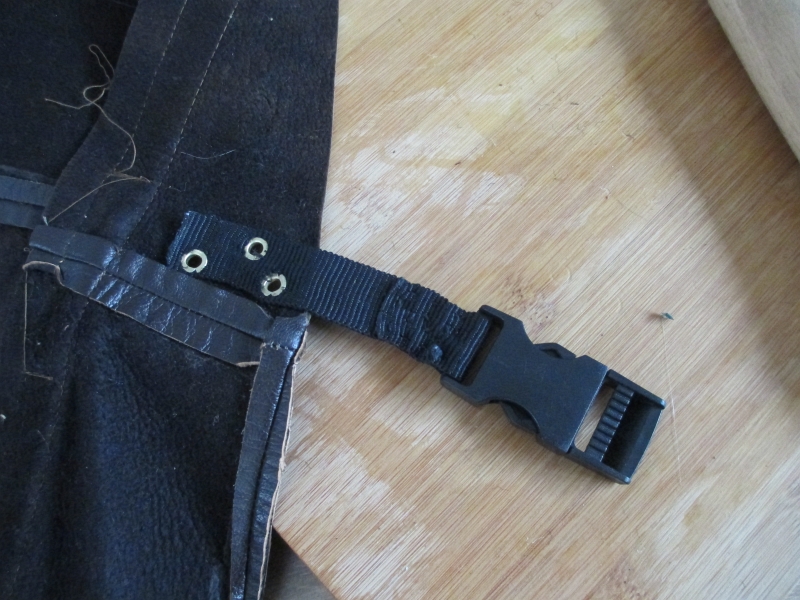
And the belt strap is done as well.
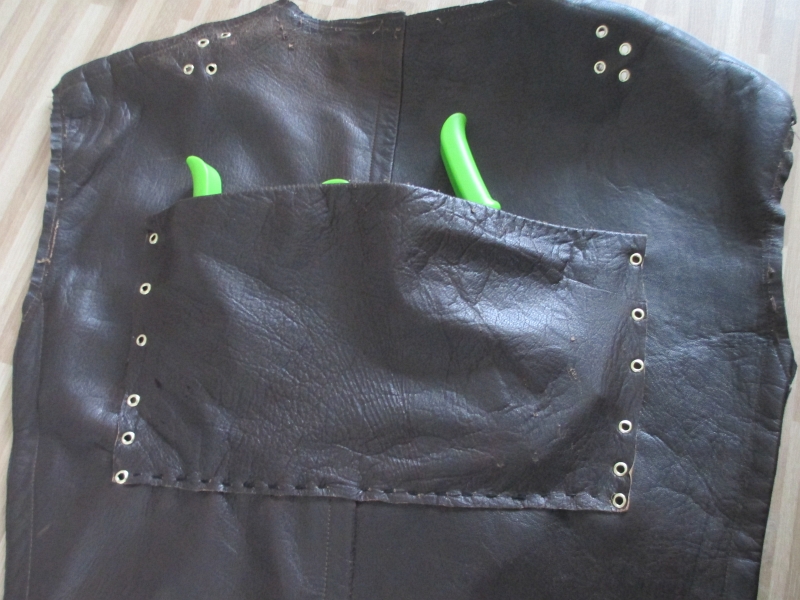
From a sleeve I made a chest pocket, but the sewing was so hard to do, that after I finished this pocket I cancelled my idea’s of additional pockets below. Due to plans with my anvil setup, this would be fine.

Chest pocket done as well.
Ready for using.
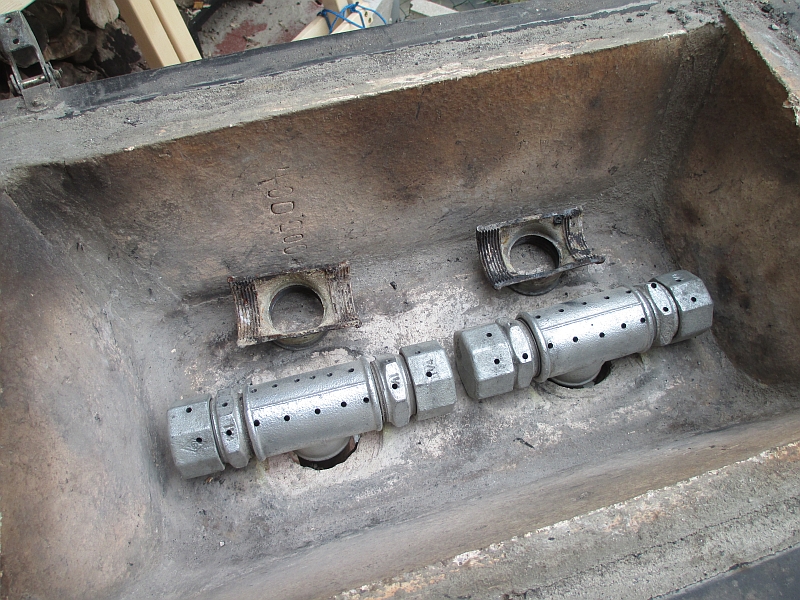
On my blog / youtube channel you can find where i build this v2.0 forge from a old gas barbeque. The original air holes are the ones on top which i replaced now with the pipes with holes. Reason for this modification was that the original air flow in created only hot spots in the coals just above the air hole. Now with the pipes with small holes it should be more spread.
I chiseled in the length a opening for the pipes to lay lower, and then filled it up with cement again so it sticks only 1.5 cm above the cement out, to keep it in place.
New beer opener on a higher spot attached.

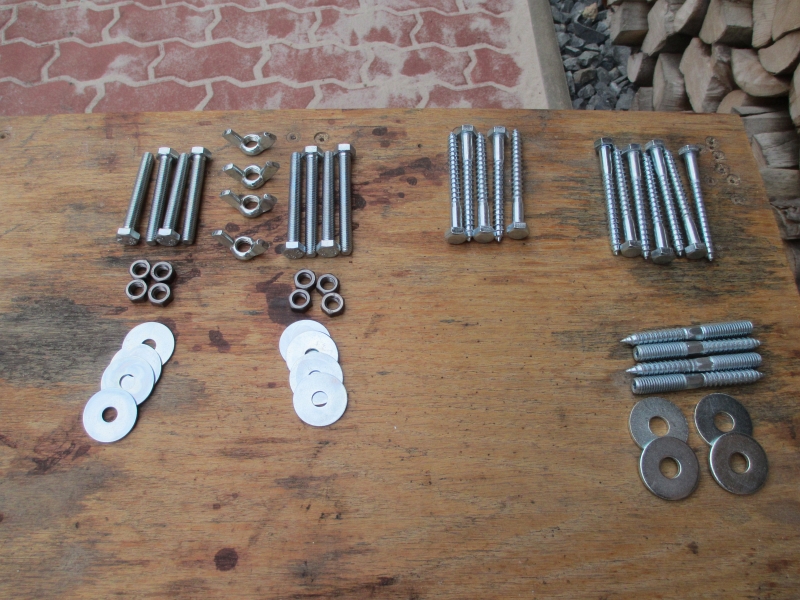
The bolts and nuts and screws I bought.
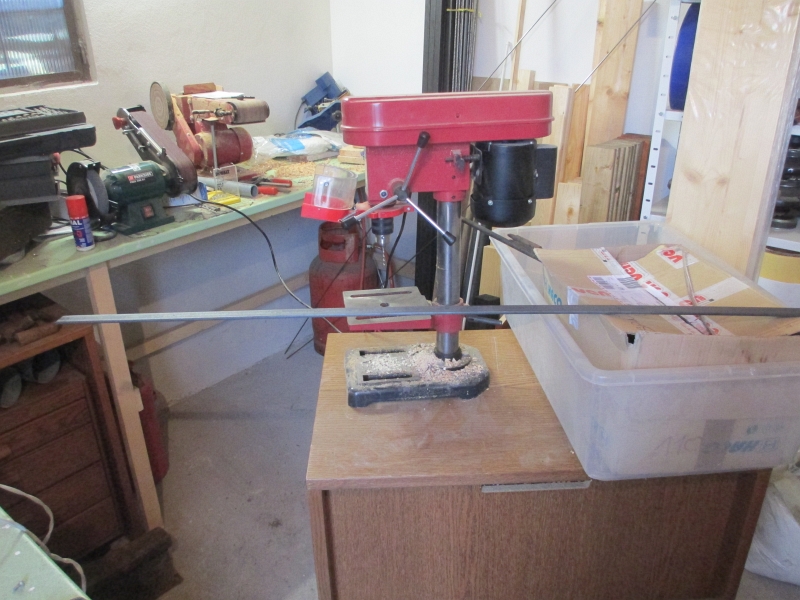
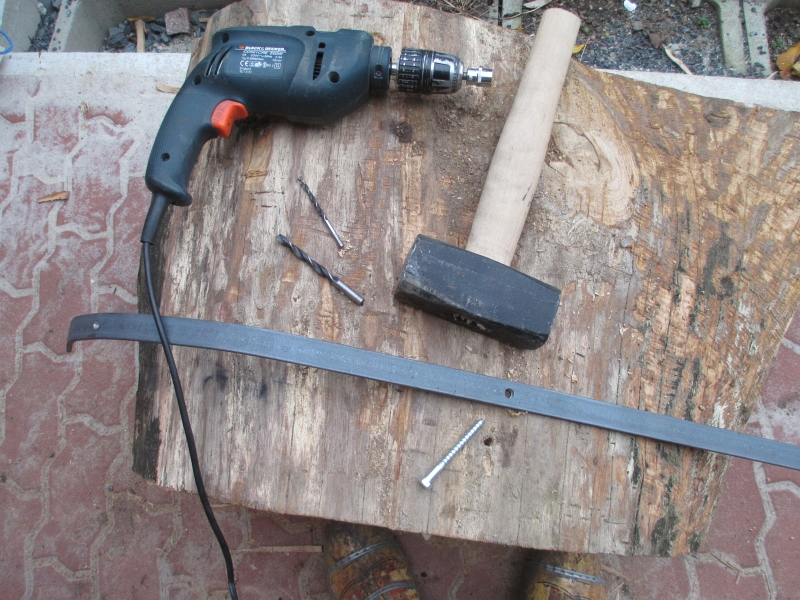
And 3 strips of each 2 meter long stock metal, about 3 cm wide and 3 mm thick, and drilling the holes in it for the screws.
Hammering the metal stock in place and attaching it with the screws. Later one when finished I added more holes to it, just to be sure it’s attached firmly.
Bottom one done.
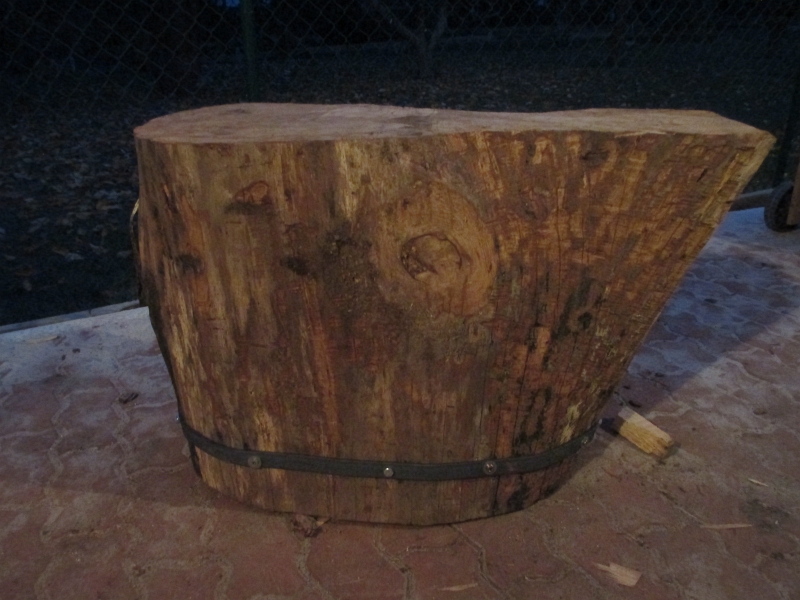
Top ring the same thing.
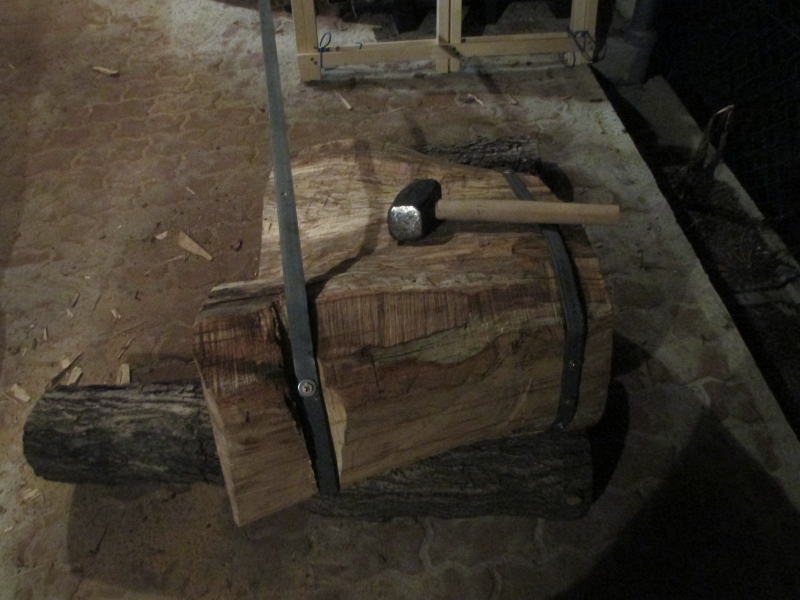
Also done. Reason for attaching the metal rings is that the wood then wouldn’t split that easily

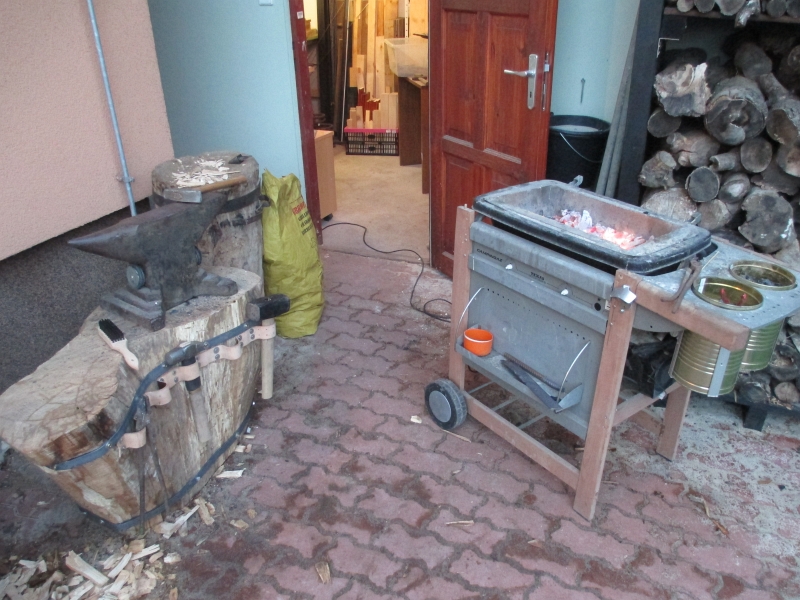
Added 3 old speaker magnets around the anvil to reduce the ringing noise.
Leather belt from the army shop, costed 1 eur.
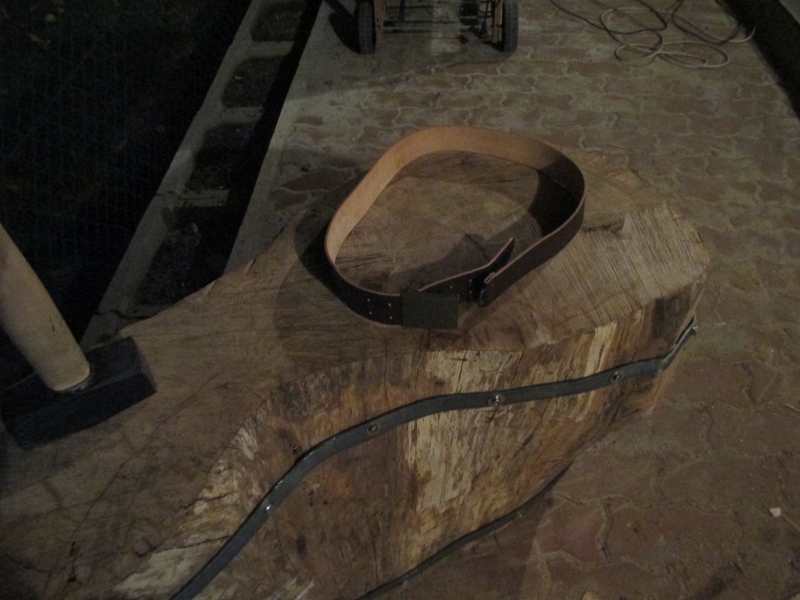
Attached it to hold all the tools close by.
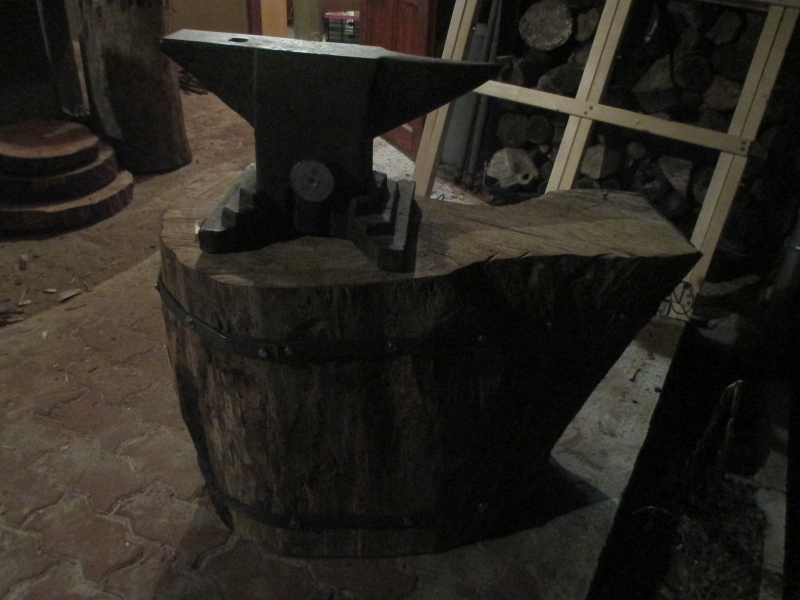
I planned to also clamp the anvil down to the wooden base, but after the test run I noticed it is very stable, and the noise is really low, and I needed to change the direction of the anvil a couple of times, so I decided not to do that, and leave it as it is.

Next day a test burn after the cement had dried. Works perfectly !
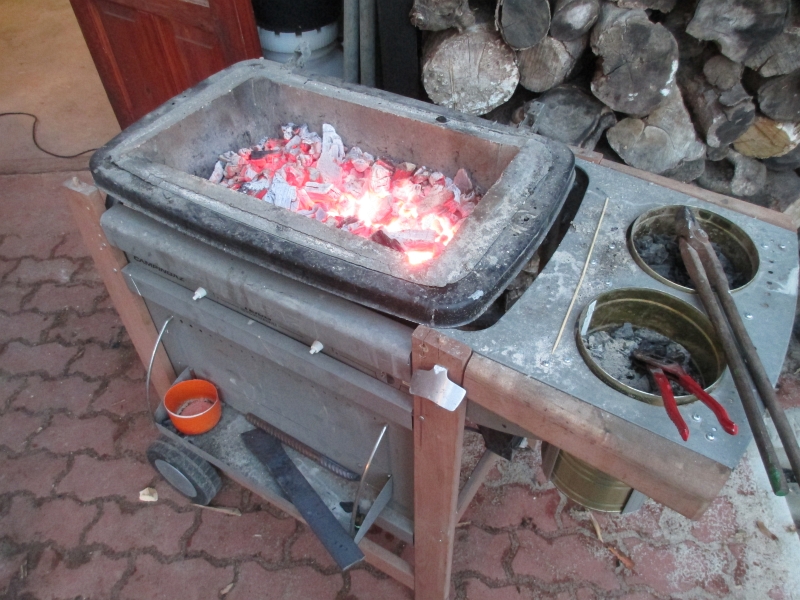
The hole setup.
Small test forging.
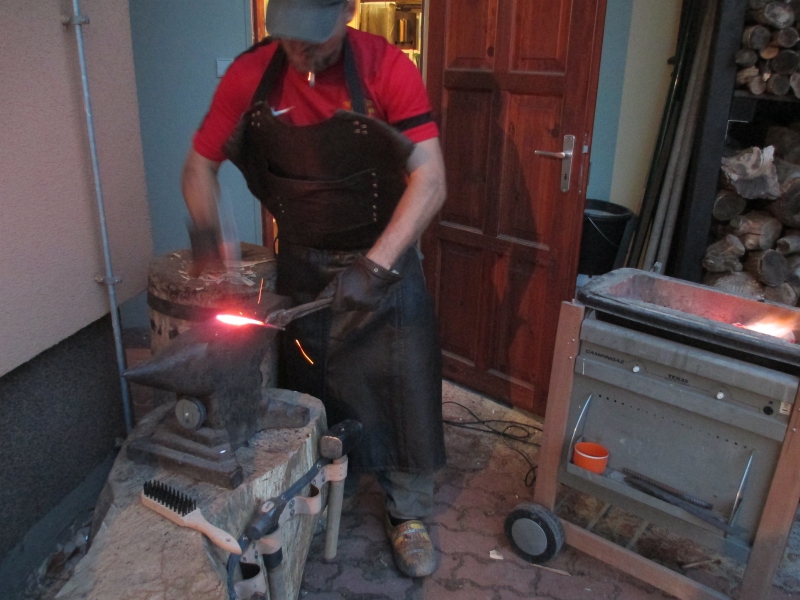
A leaf, not as easy as it looks..
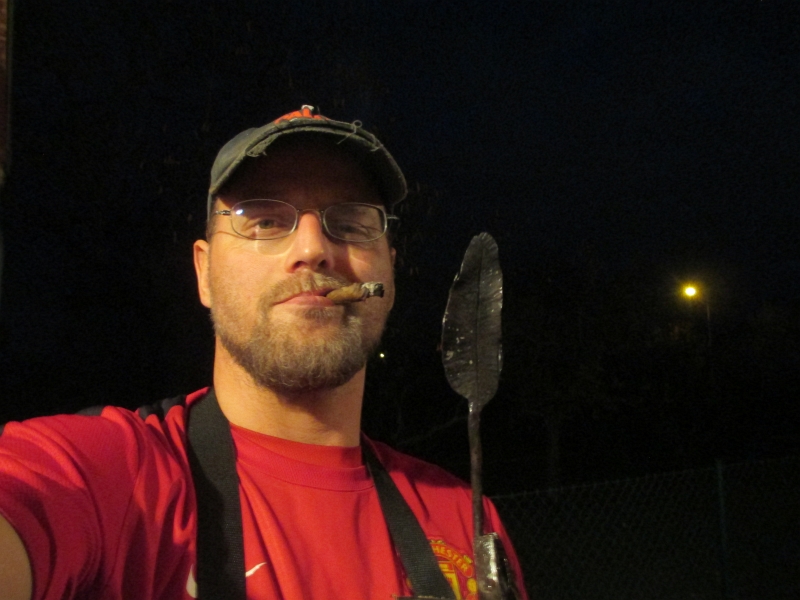
But I’m happy with it. Now the bigger projects will start soon 🙂

