From one of the birch burls I found earlier this month, which has been drying in the garage, I started carving my kuksa.
The previous one cracked when I pored boiling water inside of it.. Won’t do that again.
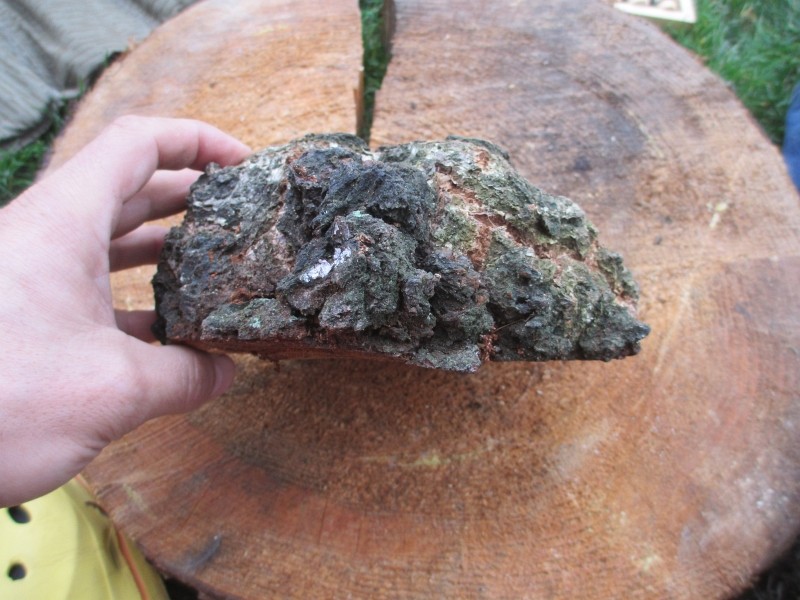
The burl harvesting you can see here.
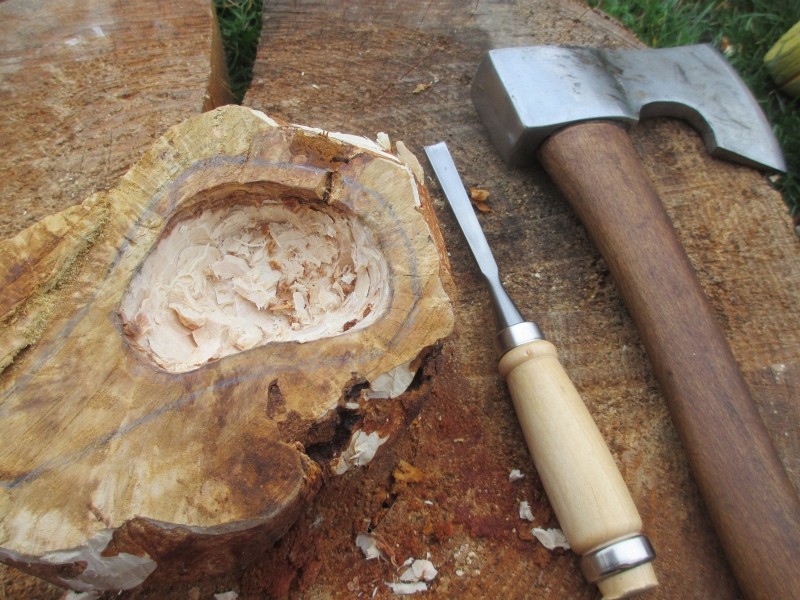
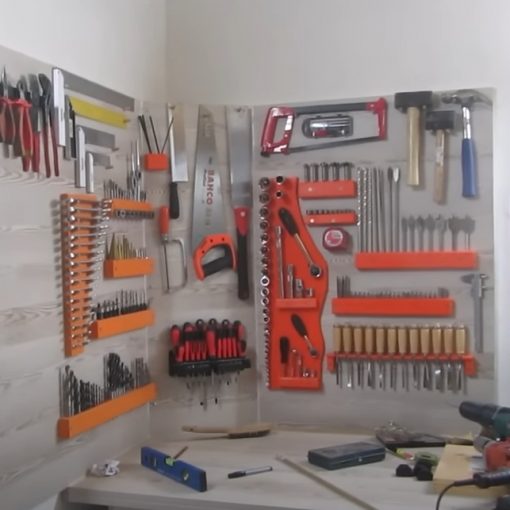
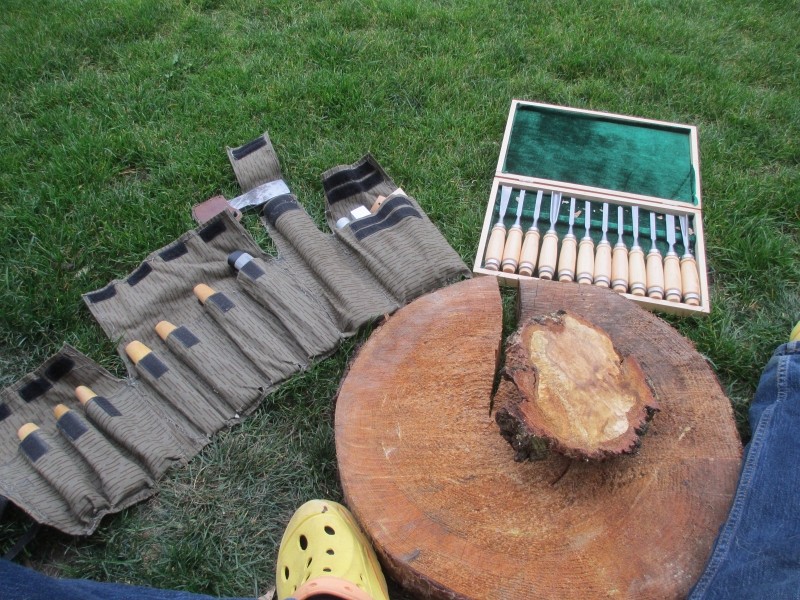
The tools, my carving set and a set of chisels, and loads of sand paper later on.
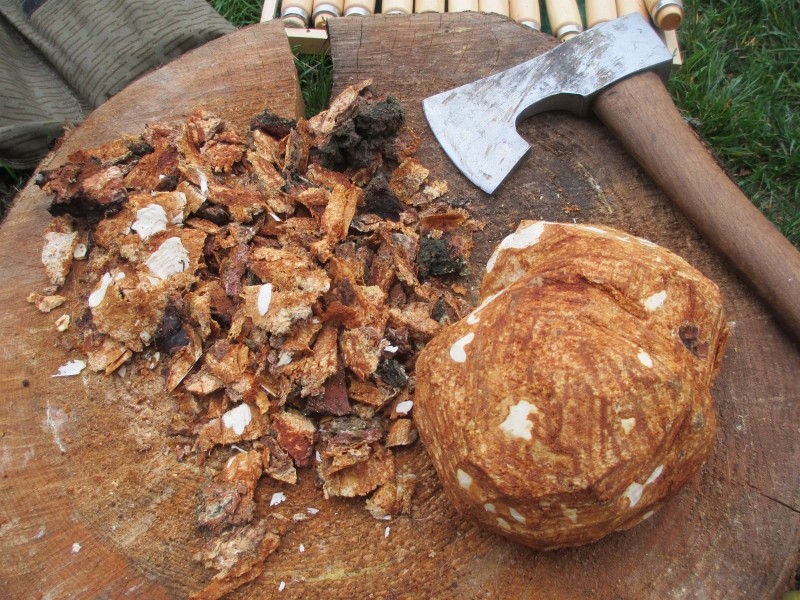
Chopping away the rough parts, to see what I can really work with.
Outlining the kuksa shape. At this stage I avoided the dark brown spot as I wasn’t sure how deep it would go.
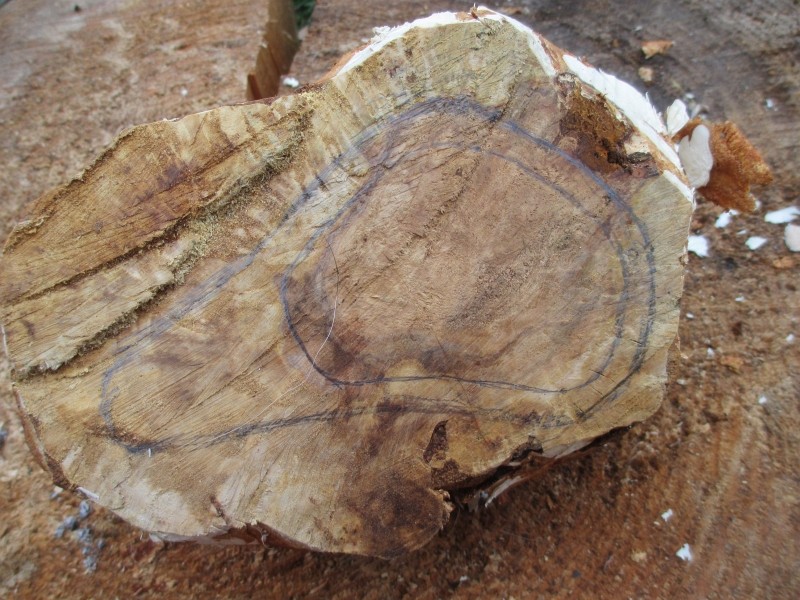
By going deep, I noticed that the dark brown part didn’t go that deep, so I moved the edge a bit more to the side to gain a bigger cup size. If the dark brown part would not hold, I could still chip down the edge without loosing much depth.
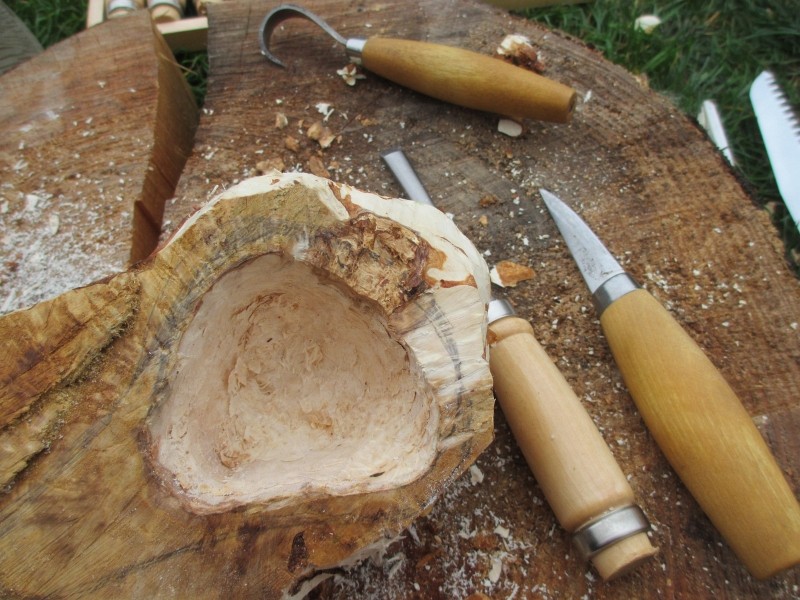
Cutting away larger chunks with my new opinel saw.
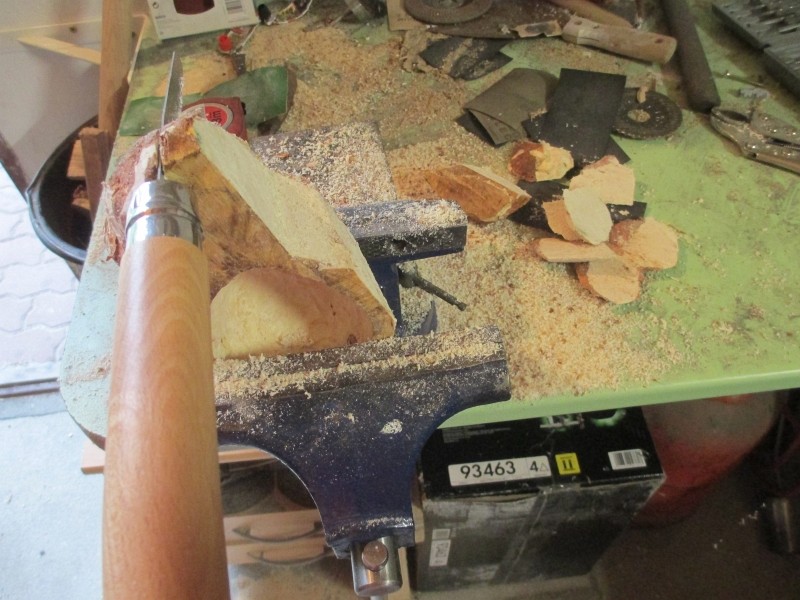
Lot’s of carving with the carving knife. Trying to use all the right and safe ways. After that lot’s of sanding from rough grid to fine grid..
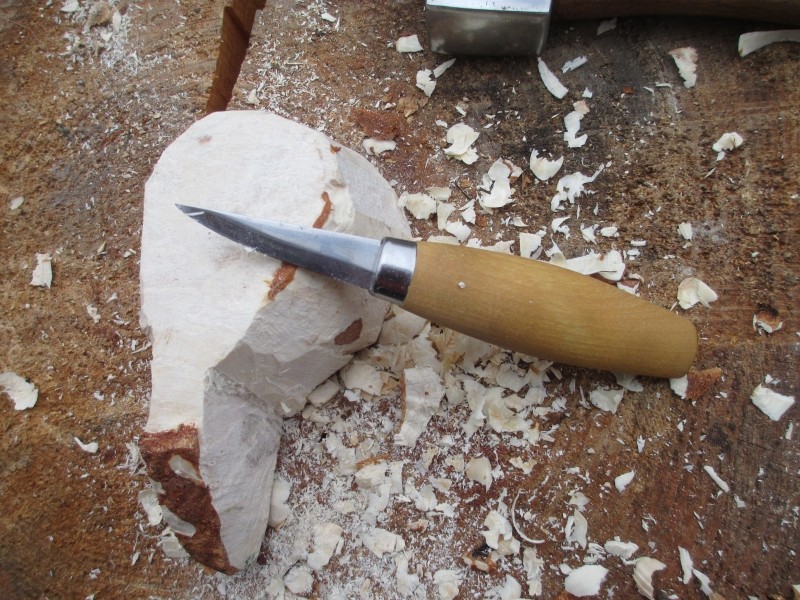
Results so far. The right and safe way of carving didn’t work out that safe for me, I had luckily lot’s of band-aids ready.
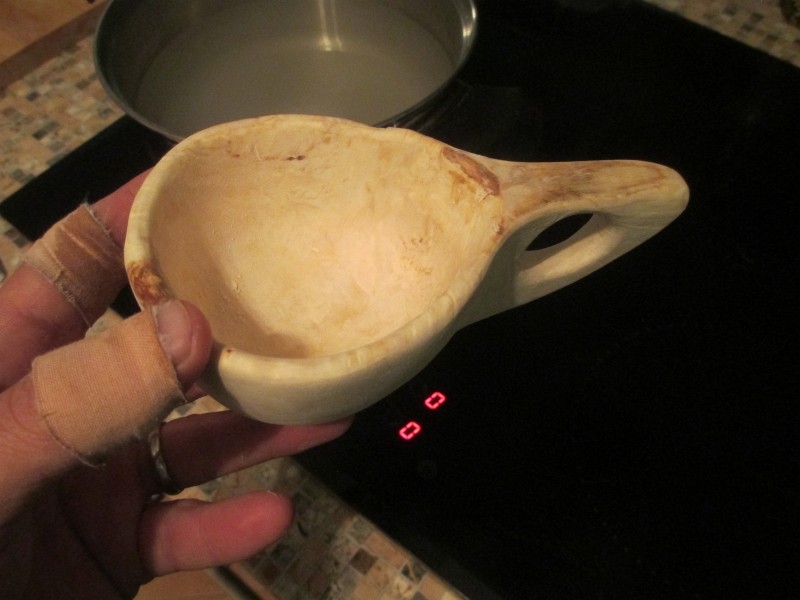
Two boils of each 1 hour with very salty water.
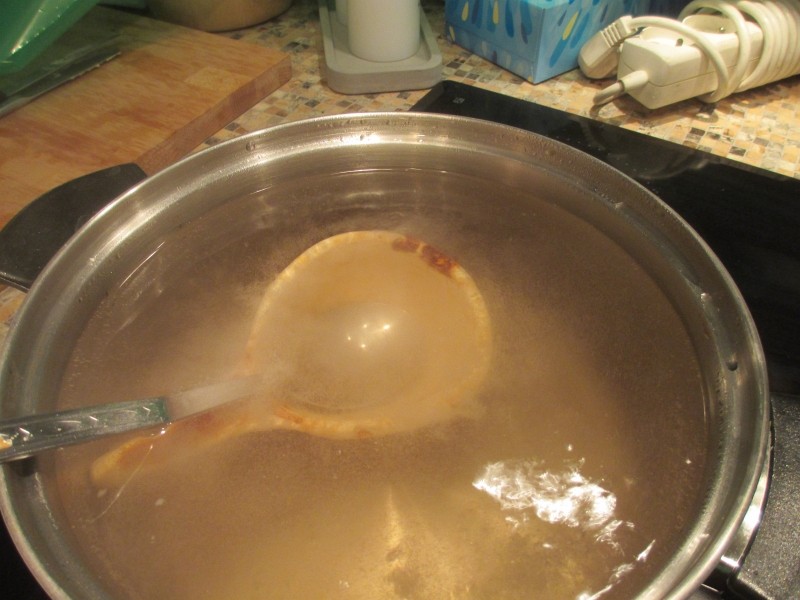
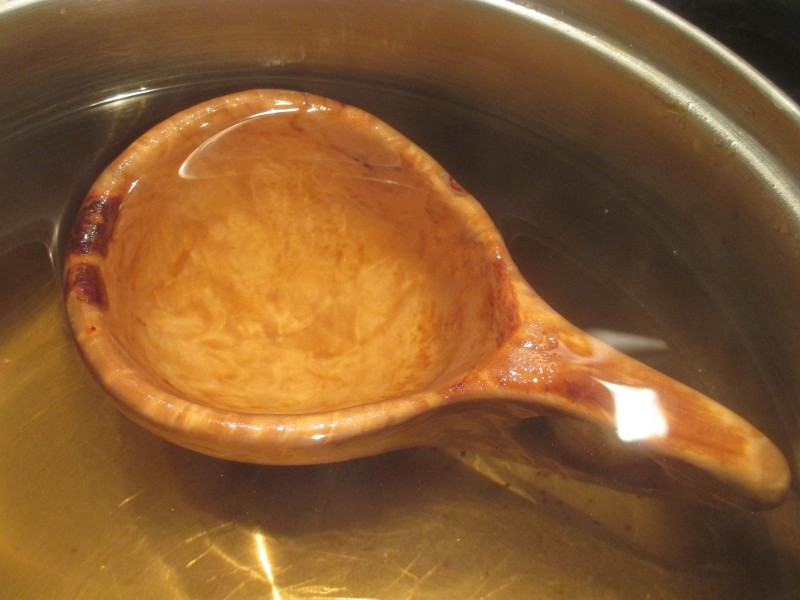
Then 5 days drying. The boiling roughed it up a bit, so lot’s of sanding again.
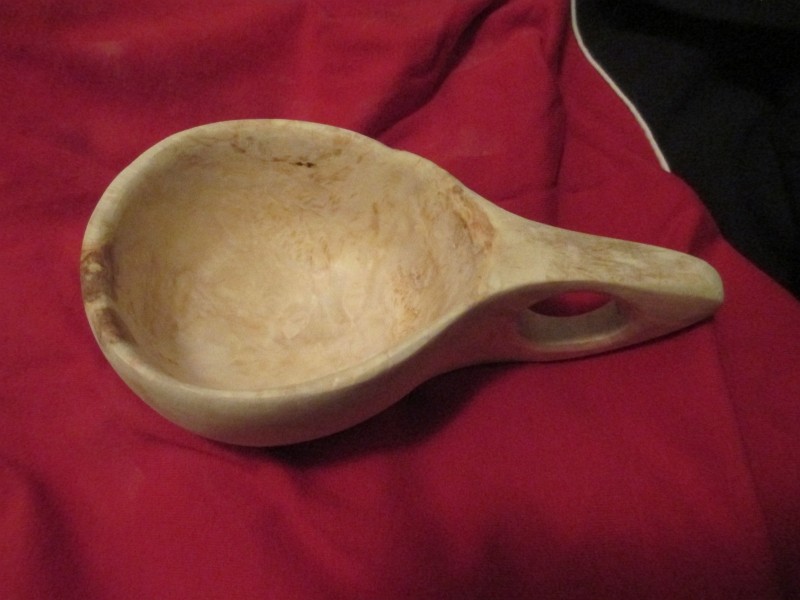
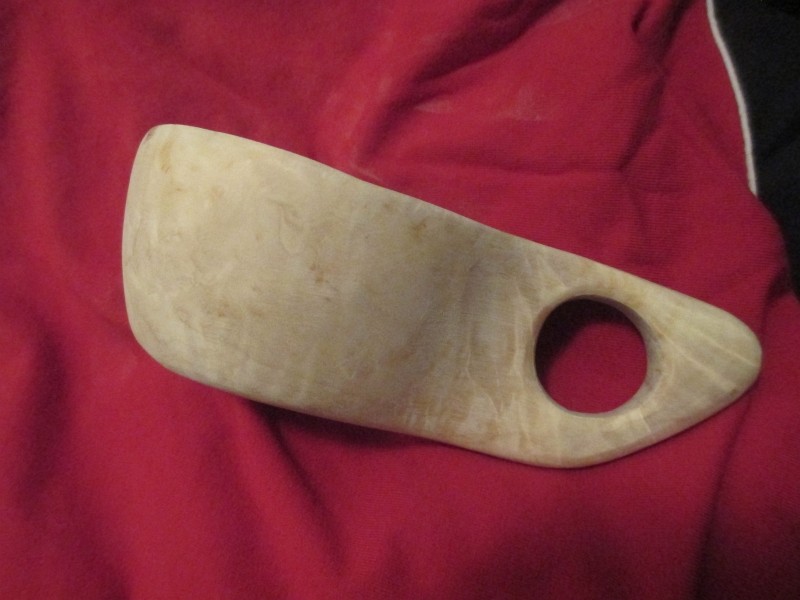
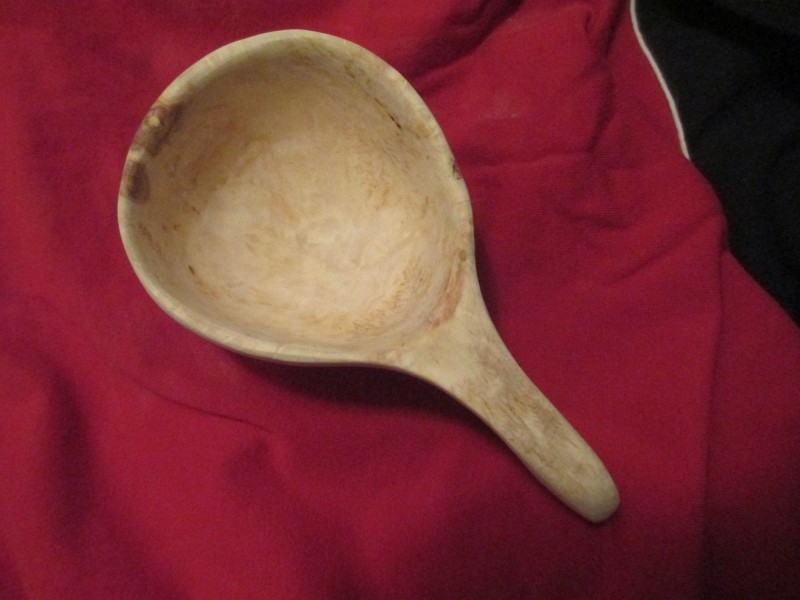
First 2 layers of olive oil, and then thick layer of Tung oil, and in between drying.
Tung oil is a food save oil that leaves a nice hard finish on the wood.
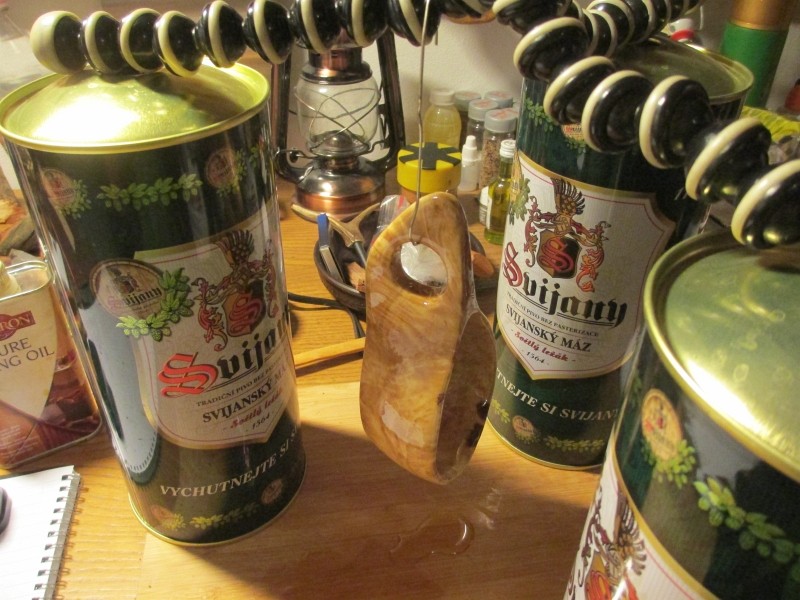
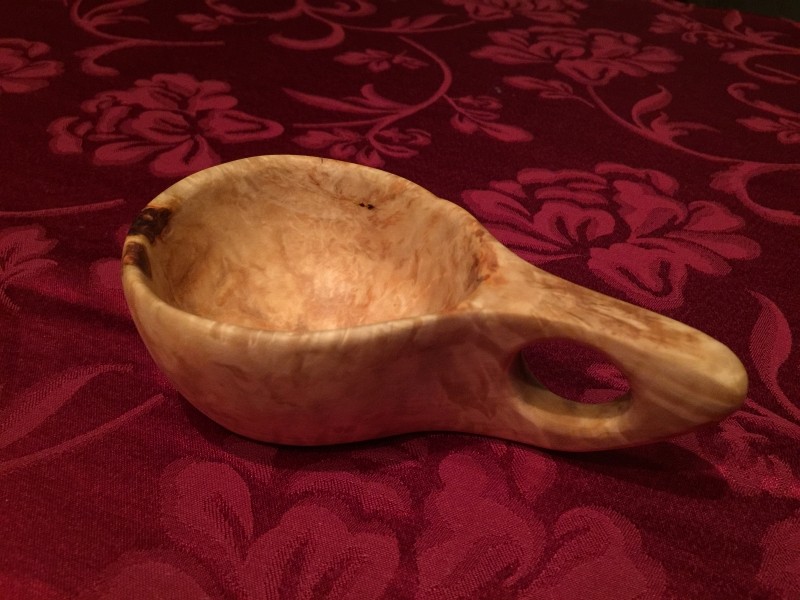
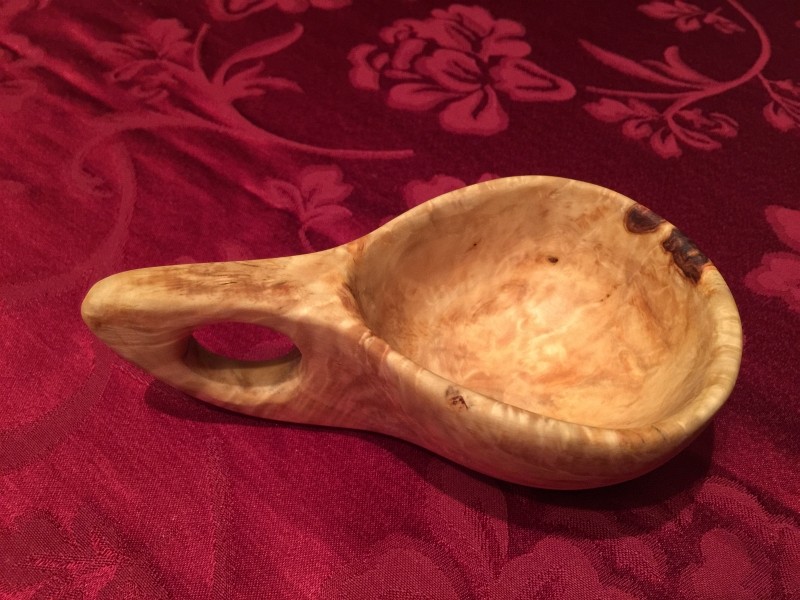
The final result, i’m very pleased with it !
This kuksa will be added to my cook kit for my hiking trips.
